Email presets
2, 3, 4 or 5 equal sections; header, body and footer; header, two columns and footer; or a hero above a 2 × 2 product grid.
For email marketers
Designed your campaign as one tall image? Cut it into sections in the right order, with names that tell you where each block belongs, ready for your email builder.
Free · No sign-up · Images stay on your device
Save the full email from your design tool as a PNG or JPEG, usually 600–640 px wide, or double that for sharp screens.
Start from “Header, body, footer” or “Hero and 2 × 2 products”, then move the lines to your exact section edges.
Get a ZIP or separate files numbered top to bottom, then upload them as image blocks in your email builder.
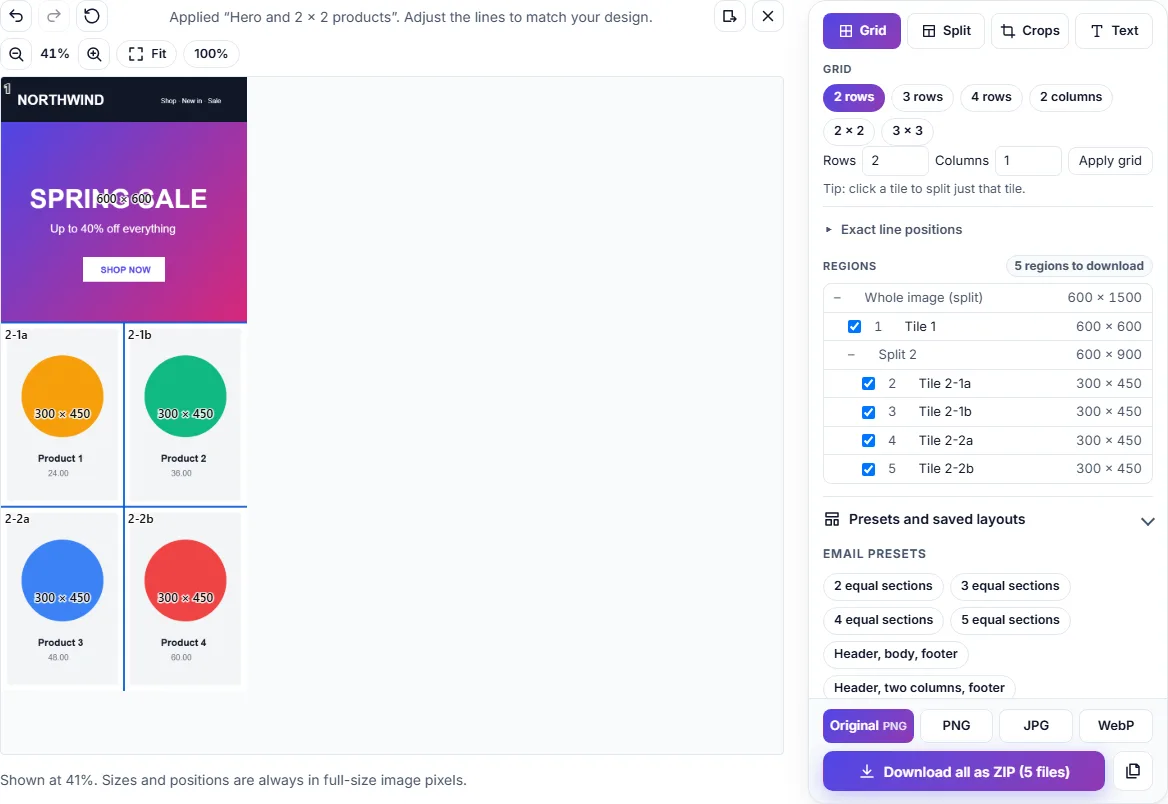
2, 3, 4 or 5 equal sections; header, body and footer; header, two columns and footer; or a hero above a 2 × 2 product grid.
Files are named like spring-sale_003_2a.png: the number keeps them in order, the position says where they go.
Save the slicing layout for your weekly newsletter and apply it to next week's design, even if its height changes.
Choose JPEG or WebP with a quality setting for photo-heavy sections, or PNG for crisp text and logos.
Cut between sections, not through text or buttons, so each block can link somewhere different and loads cleanly.
JPEG (quality 80–90) keeps photos small. PNG is best for text, logos and flat colours. Check the file sizes shown before you download.
Yes. Add alt text to each image block in your email builder, and keep key messages as real text where you can, because some email apps hide images by default.
No. It only prepares the files on your device. Upload them to your platform yourself. More in the guides.
All of them run in your browser, with no sign-up and no uploads.
Change width and height in pixels or percent.
Make image files smaller.
Convert between JPEG, PNG and WebP.
Add titles, captions and labels.