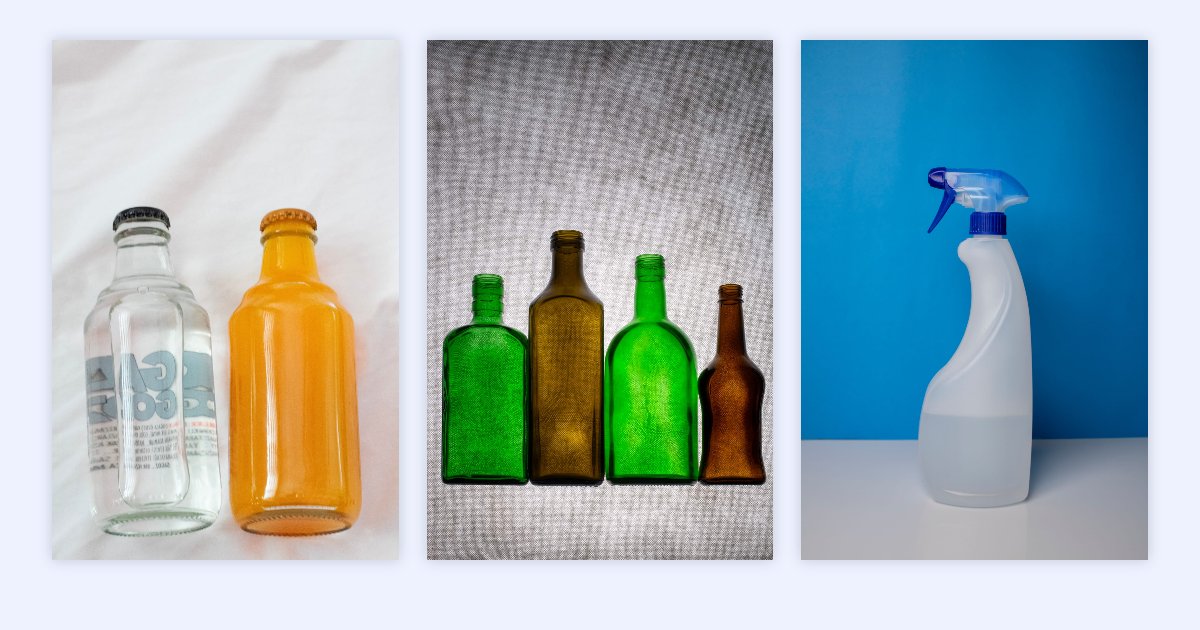
Product photos usually come from different places: your phone, a supplier, a photographer, last year's catalogue. They arrive in different shapes and sizes, and often weigh several megabytes each. On a shop page that means products that don't line up and pages that load slowly, especially on phones.
Fixing it doesn't take design software. It takes the right steps in the right order. This checklist walks through them, with a free browser tool for each. Nothing is uploaded: every tool runs on your device.
The order matters
- Shape: decide one shape for all your products, and crop to it.
- Size: make every photo the same size in pixels.
- Weight: get every file under a sensible limit.
- Format: JPG for photos, PNG or WebP when you need transparency.
- Names: give each file a name that says what's in it.
Cropping comes first because it decides what's in the picture. Resizing comes next, and the file size last, because a smaller picture needs much less compression to fit a limit.
1. Pick one shape for every product
Shop pages show products in a grid. If one photo is square, the next tall and the next wide, the grid looks uneven or the shop crops them unpredictably.
Shopify's help page Product media types (checked 21 October 2026) says it directly: "To make your images display to be the same size, you need to use a consistent aspect ratio." It suggests that for square images "a size of 2048 x 2048 px usually displays best". Other platforms have their own guidance, so check yours.
Square is the most common choice. To get there:
- On white: for clean, square product shots on pure white, follow product photos on a white background, step by step.
- Keeping the background: in the resizer, unlock the chain button, type the same width and height, and choose Crop to fill. Drag the frame in the preview so nothing important is cut off.
- Several products in one photo: pull each one out with the crop tool. See how to crop several parts from one image.
2. Make them all the same size
Photos straight from a phone or camera are far bigger than any shop needs. Pick one width (or one square size) and resize everything to it in one go. The resizer takes up to 20 photos at a time and keeps each one's proportions.
3. Keep every file light
Big files make your shop slower, and some platforms limit the upload size. Set a Max file size in the resizer, and each photo gets the highest quality that still fits: large, detailed photos are reduced the most, simple ones keep full quality.
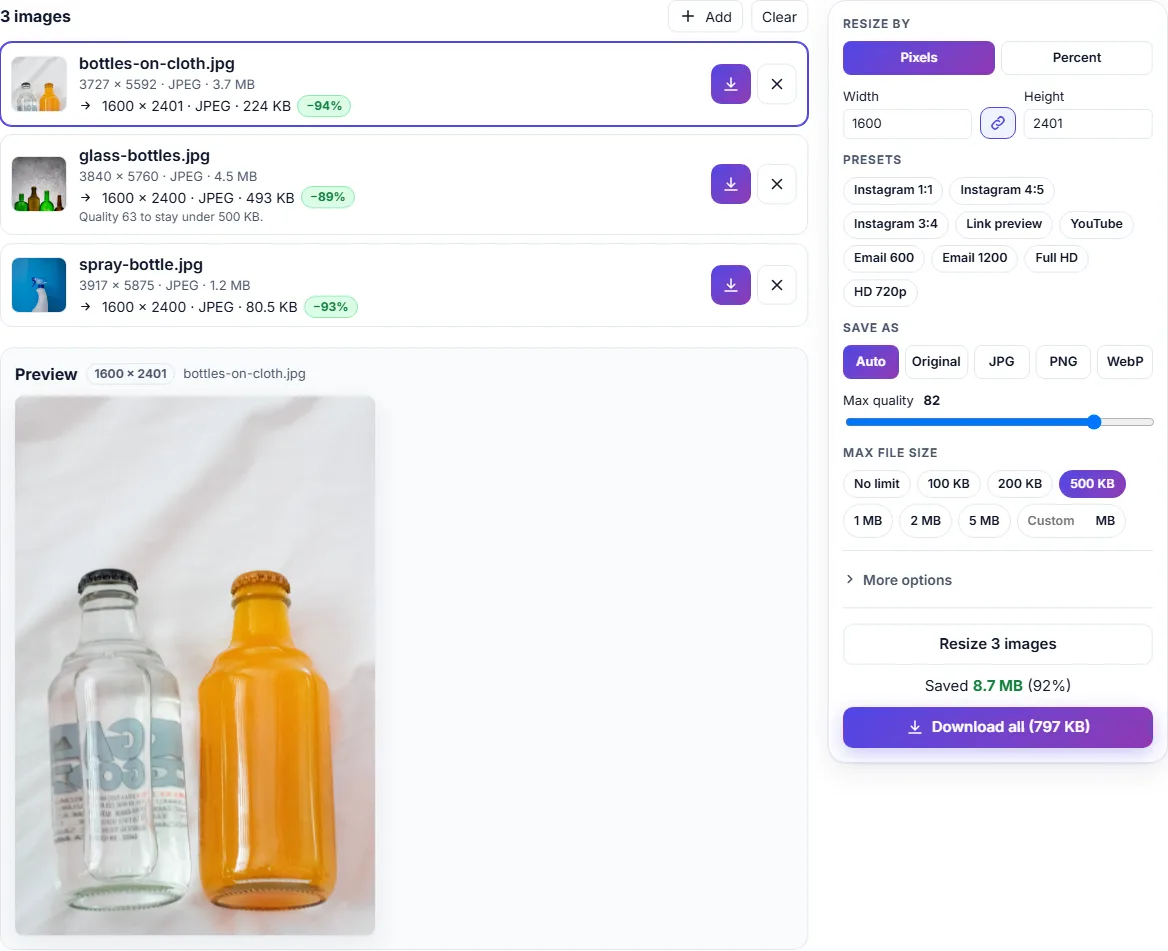
Here's what that did to three of our product photos, resized to 1600 px wide with a 500 KB limit in one step:
| Photo | Before | After | Note |
|---|---|---|---|
| bottles-on-cloth.jpg | 3727 × 5592, 3.7 MB | 1600 × 2401, 224 KB | |
| glass-bottles.jpg | 3840 × 5760, 4.5 MB | 1600 × 2400, 493 KB | Quality 63 to stay under 500 KB |
| spray-bottle.jpg | 3917 × 5875, 1.2 MB | 1600 × 2400, 80.5 KB |
Together they went from 9.4 MB to 0.8 MB. Only the glass bottles, with their finely textured background, needed a lower quality to fit. The others fitted at full quality.
To compress without changing the size in pixels, use the image compressor instead. For a specific limit, see how to compress an image to a specific size.
4. Choose the right format
- JPG for product photos. It keeps them small, and every platform accepts it.
- PNG or WebP when the product needs a transparent background, for example to sit on a coloured page. JPG can't store transparency: see why a transparent image gets a black or white background.
- If your platform recommends a format, follow it. Shopify's page, for example, calls PNG the best choice for most product images, followed by JPEG.
5. Name your files
The tools add the new size to each file name, like glass-bottles-1600x2400.jpg, so they never overwrite your originals. Before you upload, rename the files so they say what's in them: green-glass-bottle-set.jpg is far more useful than IMG_4821.jpg, to you and to anyone searching your shop. Use lowercase words separated by hyphens.
And when you upload, fill in the alt text your platform offers for each image: a short description of the product, for customers who use screen readers.
The checklist
- One shape for every product photo (square is the most common).
- Each product fills most of the frame, with an even margin.
- Every photo the same size in pixels.
- Every file under your limit (we used 500 KB).
- JPG for photos; PNG or WebP only when you need transparency.
- File names that describe the product.
- Alt text filled in on your platform.
- Your platform's own image guidance checked.
Questions
What size should product photos be? It depends on your platform: check its help pages. Shopify, for example, says 2048 × 2048 px usually displays best for square images. Bigger than your platform needs only makes files heavier.
Can I do all of this for many photos at once? Resizing, compressing and background removal each take up to 20 photos at a time. Cropping is one photo at a time, because each product sits in a different place.
Are my product photos uploaded? No. All the tools work in your browser, on your device.